Imagine the rich aroma of freshly made pasta wafting through your kitchen, ready to be twirled around your fork. For many, the idea of crafting pasta from scratch feels like a distant dream, reserved for seasoned chefs or those with endless time. But what if there was a simple, compact solution that brought this culinary delight right to your countertop? Enter the Philips Compact Pasta Maker, a revolutionary appliance designed to transform your pasta-making aspirations into delicious reality, making fresh pasta accessible to everyone.
|
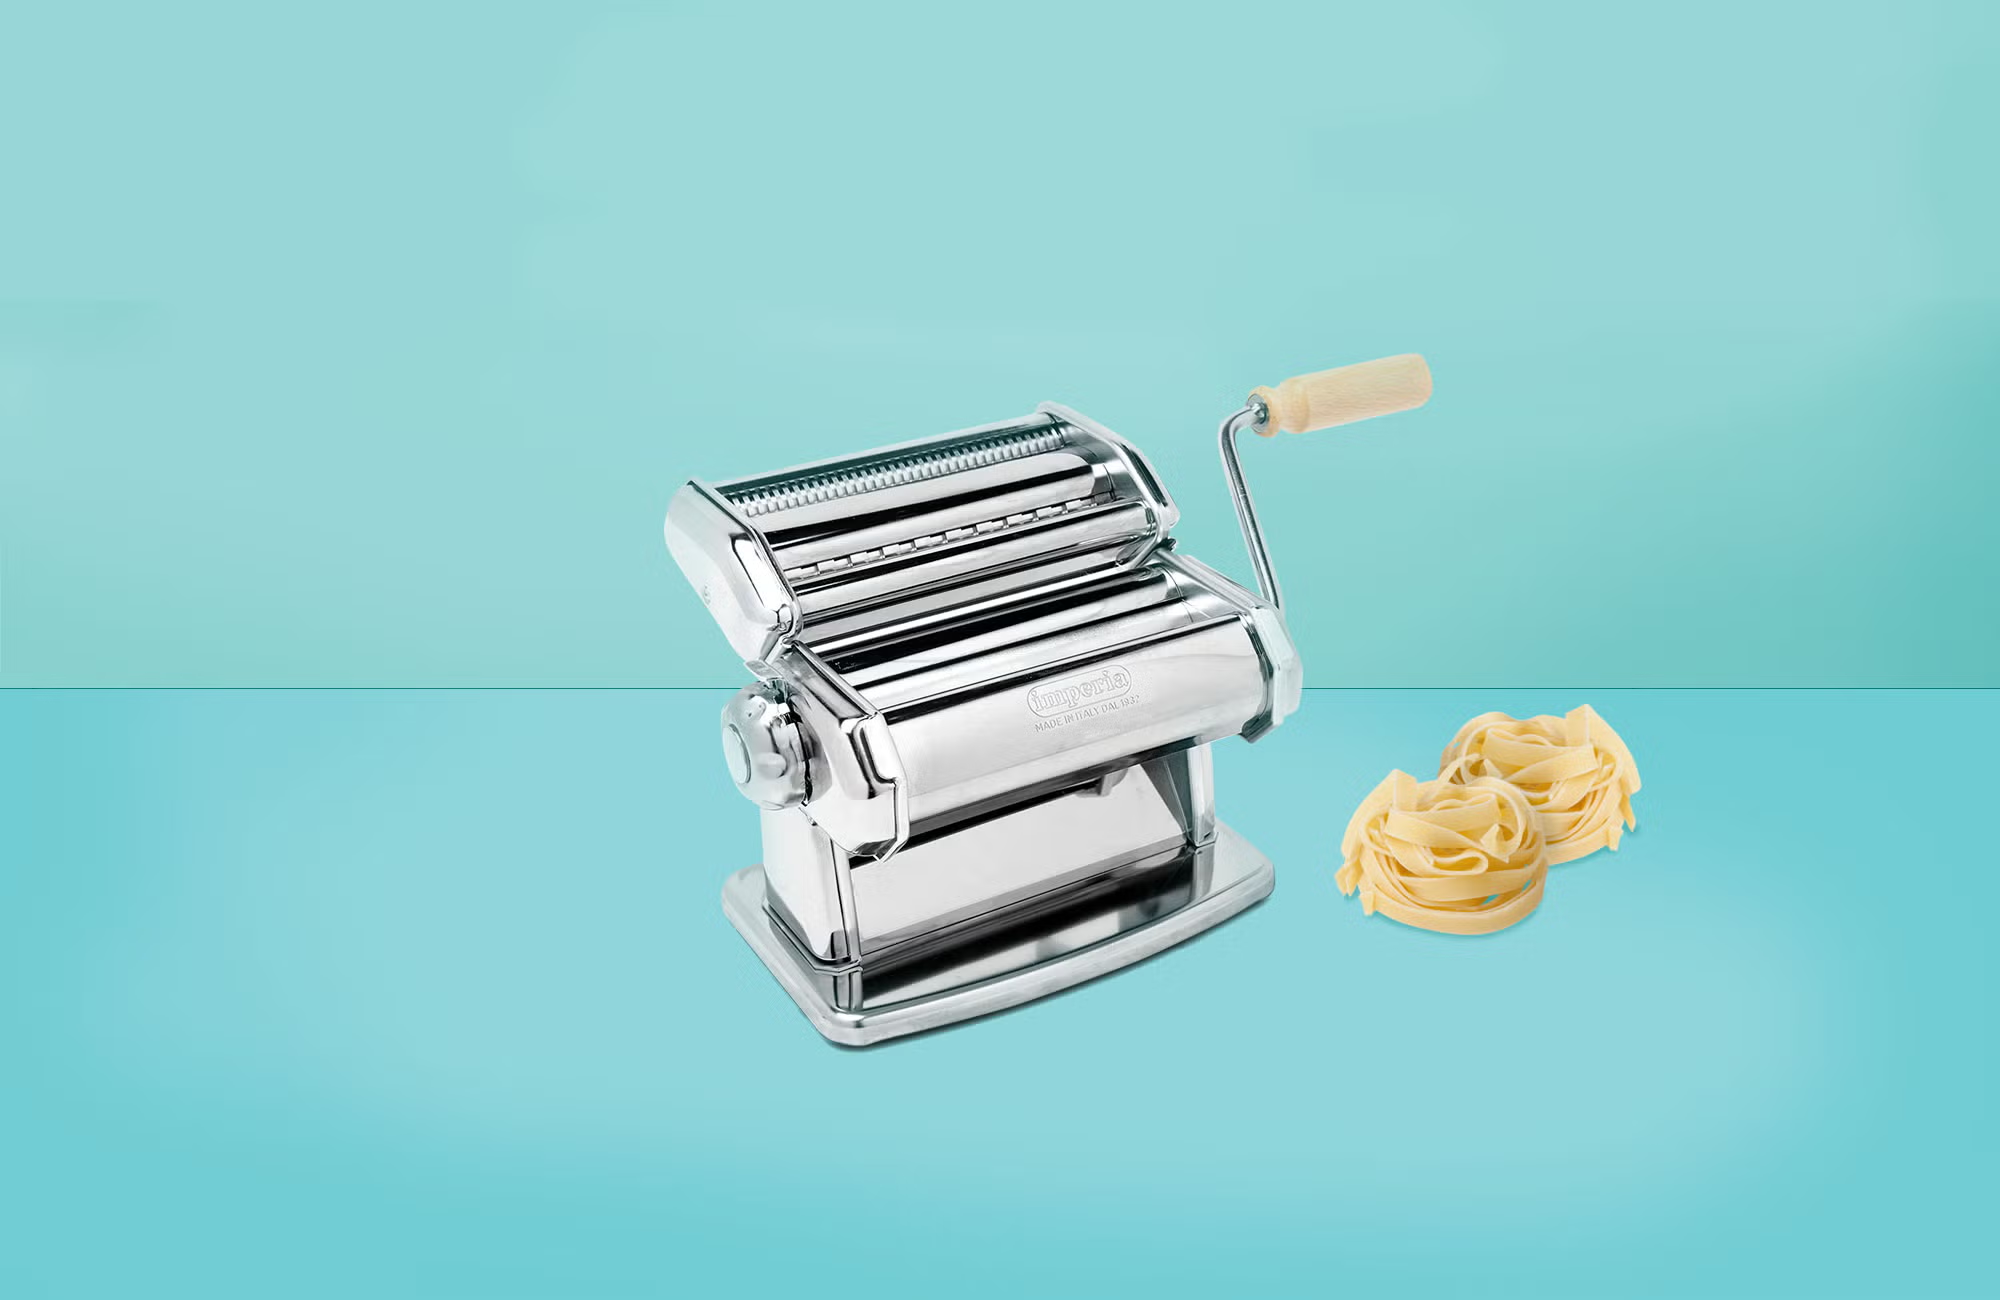
Our Picks for the Best Pasta Maker in 2026
As an Amazon Associate I earn from qualifying purchases.
|
||
| Num | Product | Action |
|---|---|---|
| 1 | NEWTRY Commercial Pasta Maker Machine Electric Dough Roller Noodle Making Machine with 2/6mm and 2.5mm Round Blade Thickness Adjustable for Fettuccine Pasta 110V |

|
| 2 | Imperia Pasta Maker Machine- 100% Made in Italy, Heavy Duty Steel Construction, Easy Lock Dial, Wood Grip Handle & Cleaning Brush- Fresh Homemade Italian Spaghetti Fettuccine or Lasagna (Classic Line) |
|
| 3 | MARCATO Made in Italy Atlas 150 Classic Manual Pasta Maker Machine, Chrome Steel with Black Hand Crank. Makes Lasagna, Fettuccine & Tagliolini. |
|
| 4 | Nuvantee Pasta Maker with 7 Adjustable Thickness Settings - 2 in 1 Noodle Maker with Rollers and Cutter, Make Spaghetti, Fettuccini, Lasagna, & More |
|
| 5 | Sailnovo Pasta Maker Machine, 180 Roller Pasta Maker, 9 Adjustable Thickness Settings 2-in-1 Noodles Maker with Rollers and Cutter, Perfect for Spaghetti, Fettuccini, Lasagna or Dumpling Skin Red |
|
| 6 | Sailnovo Pasta Maker Machine, 180 Roller Pasta Maker, 9 Adjustable Thickness Settings 2-in-1 Noodles Maker with Rollers and Cutter, Perfect for Spaghetti, Fettuccini, Lasagna or Dumpling Skin Silver |
|
| 7 | Electric Pasta Machine, Household Handheld Wireless Noodle Machine. A Homemade Noodle Machine With 10 Types Of Noodle Molds And 2 Types Of Enema Filling Nozzles |
|
| 8 | Antree Pasta Maker Attachment 3 in 1 Set for KitchenAid Stand Mixers Included Pasta Sheet Roller, Spaghetti Cutter, Fettuccine Cutter Maker Accessories and Cleaning Brush |
|
| 9 | Pasta Maker Attachment for KitchenAid Stand Mixer, Pasta Maker Accessories Set Included Pasta Roller, Fettuccine Cutter, Spaghetti Cutter and Cleaning Brush, Homemade Fresh Noodles and Italian Cuisine |
|
| 10 | ISILER Pasta Maker, 9 Adjustable Thickness Settings 2 in 1 Pasta Machine with Rollers and Cutter, Noodle Maker for Dumpling Skin, Spaghetti, Fettuccini, Lasagna |
|
The Genesis of Easy Pasta Making: A Look at Pasta Maker Evolution
The story of pasta is as old as civilization itself, with early forms of noodles tracing back thousands of years. For centuries, making pasta was a labor of love, a physically demanding process involving hand-kneading dough, rolling it thin with a long pin, and meticulously cutting it into shape. The invention of manual pasta machines in the 19th century simplified the rolling and cutting, but the mixing and kneading still required significant effort. Fast forward to today, and innovations like the Philips Compact Pasta Maker have truly democratized fresh pasta. These automatic machines handle the entire process, from mixing ingredients to extruding perfectly formed pasta, revolutionizing how home cooks approach this beloved staple. This evolution means you no longer need to dedicate an entire afternoon to pasta making; with a modern electric pasta maker, delicious results are just minutes away.
Why the Philips Compact Pasta Maker is a Kitchen Essential
The Philips Compact Pasta Maker isn’t just another kitchen gadget; it’s an invitation to elevate your home cooking with unparalleled ease and versatility. Its thoughtful design and automated functions make it a standout choice for anyone looking to embrace the joy of fresh pasta.
Compact Design, Big Impact
One of the most appealing features of the Philips Compact Pasta Maker is its space-saving footprint. Unlike bulkier kitchen appliances, this machine is designed to fit seamlessly into any kitchen, whether you have sprawling countertops or a cozy culinary nook. Its sleek form factor (models like HR2370/05 and HR2371/05 are particularly notable for this) means it can be easily stored in a cabinet or proudly displayed, ready for spontaneous pasta sessions. This compactness removes a significant barrier for many home cooks: the worry of storage.
Fully Automatic Convenience
Gone are the days of elbow grease and sticky dough all over your hands. The Philips Compact Pasta Maker is a true workhorse, handling all the heavy lifting for you. Simply add your dry ingredients, select your program, and then slowly pour in your liquid. The machine automatically mixes, kneads, and extrudes perfect pasta in as little as 10-18 minutes, yielding 2-3 servings (around 400-450 grams). This fully automatic process means you can focus on preparing your sauce or enjoying time with family while your fresh pasta is being made.
Freshness You Can Taste
There’s an undeniable difference between fresh, homemade pasta and its dried, store-bought counterpart. Fresh pasta boasts a superior texture that is tender yet firm, and its ability to absorb sauces is unmatched. The Philips Compact Pasta Maker consistently delivers this exceptional quality, ensuring that every meal is infused with authentic Italian taste and a delightful al dente bite. The unique stirring bar with angled multi-pins ensures ingredients are mixed evenly, while the long kneading tube guarantees optimal dough consistency for smooth, bouncy pasta.
Unleash Your Creativity
The versatility of the Philips Compact Pasta Maker extends far beyond basic durum wheat pasta. It encourages culinary experimentation. You can easily switch up your flours, using semolina, all-purpose, whole wheat, or even spelt flour for different textures and nutritional profiles. For a pop of color and an added health boost, incorporate vegetable juices like spinach for green pasta, carrot for orange, or beets for a vibrant red hue. The possibilities are endless, allowing you to customize your pasta to suit any dish or dietary preference.
Effortless Clean-up
A common concern with kitchen appliances is the cleanup, but the Philips Compact Pasta Maker addresses this with clever design. Most of its components are detachable, making them easy to remove and rinse. The included cleaning tools are specifically designed to clear out any dough remnants from the shaping discs, with some users even recommending freezing the discs for a couple of hours to make stubborn dough even easier to remove. Many parts are dishwasher-safe, simplifying post-meal tidying and ensuring your machine is ready for its next use.
Getting Started: Using Your Philips Compact Pasta Maker
Making fresh pasta with your Philips Compact Pasta Maker is surprisingly straightforward. Here’s how to get started:
Simple Setup
Before you begin, ensure all the detachable parts are correctly assembled. This usually involves sliding the mixing chamber onto the main unit, inserting the mixing paddle and squeezing tube, and then attaching your chosen shaping disc with its holder. The intuitive design means parts snap into place easily.
The Perfect Ratio
The key to perfect pasta lies in the correct ratio of flour to liquid. Your Philips Compact Pasta Maker comes with specially designed measuring cups for both dry ingredients (flour) and liquid (eggs and water). Always refer to the included recipe book for the precise amounts for your desired pasta type. Chef Isabella Rossi, a renowned pasta expert, shares, “Achieving that ideal crumbly dough texture before extrusion is key for perfect pasta. Trust the process! Don’t be tempted to add more liquid if it looks too dry initially; the machine is designed to work with a consistency that might seem ‘off’ to the untrained eye.”
Step-by-Step Pasta Creation
- Add Flour: Open the lid and pour your measured flour into the mixing chamber.
- Close Lid & Select Program: Securely close the lid. Turn on the appliance and select your desired program (usually an automatic setting).
- Slowly Pour Liquid: As the machine begins to mix, slowly and steadily pour your liquid mixture (e.g., whisked egg and water) into the designated opening on the lid. This slow addition allows the flour to hydrate evenly.
- Watch it Extrude: The machine will continue mixing and kneading. After approximately three minutes, you’ll hear a beep, and your fresh pasta will begin to extrude through the shaping disc.
- Cut Pasta: Use the included pasta cutter to slice the fresh strands or shapes to your preferred length as they emerge.
Beyond the Basics: Mastering Your Philips Compact Pasta Maker
Once you’re comfortable with the basics, your Philips Compact Pasta Maker opens up a world of culinary exploration.
Exploring Pasta Shapes
The Philips Compact Pasta Maker typically comes with three classic shaping discs for spaghetti, penne, and fettuccine. These are your foundational shapes for countless dishes. However, Philips often offers additional shaping discs (sold separately), allowing you to create a wider variety of pasta, from lasagna sheets to thick udon noodles. Don’t hesitate to explore these options to broaden your pasta repertoire.
Flour Power
Different flours impart unique characteristics to your pasta. While standard all-purpose flour works well, incorporating semolina flour (durum wheat semolina) adds a traditional, firm texture and golden hue, often preferred for authentic Italian pasta. Experiment with whole wheat flour for a nuttier flavor and increased fiber, or even gluten-free flour blends to cater to dietary needs. Always adjust liquid ratios according to the flour’s absorption properties, as advised in your recipe book.
Flavor Infusions
This is where the creativity truly shines! To make flavored pasta, substitute part of your liquid with vegetable juices. For example, use spinach juice for vibrant green pasta that pairs wonderfully with cream sauces, carrot juice for a sweet, earthy orange pasta, or beet juice for a stunning pink or red pasta. Fresh herbs, finely minced, can also be added directly to the flour for aromatic pasta dough. Imagine rosemary fettuccine or basil spaghetti!
Troubleshooting Common Queries
- What if the dough is too wet/dry? The most common issue is incorrect flour-to-liquid ratio. If the dough appears too wet and sticky, it might clog the extruder. If it’s too dry and crumbly to form properly, it won’t extrude. Always refer to your recipe book, as even small deviations can impact the outcome.
- Why did the machine stop? For safety, the machine will stop if the lid is opened during operation. It also has safety mechanisms to prevent overheating, especially after extended continuous use (typically 45 minutes). Allow it to cool down for about 15 minutes before restarting. Blockages from excessive ingredients can also cause stops, so ensure you don’t exceed the maximum flour capacity (usually 500g).
Keeping It Pristine: Care and Maintenance
Proper cleaning and maintenance are crucial for the longevity and optimal performance of your Philips Compact Pasta Maker.
Daily Cleaning
After each use, disconnect the appliance from power. Disassemble all detachable parts immediately. It’s easiest to clean dough remnants before they dry and harden. Use the provided flat scraping tool for the mixing chamber and the special cleaning tool to push dough out of the shaping disc holes.
Dishwasher Compatibility
Many of the detachable components, such as the mixing chamber, paddle, and shaping discs, are typically dishwasher-safe (top rack recommended). However, always check your specific model’s user manual for precise instructions. The main unit, containing electrical components, should never be immersed in water or put in a dishwasher.
Long-Term Care
To ensure your Philips Compact Pasta Maker continues to perform flawlessly, avoid using abrasive cleaners or scouring pads that could scratch the surfaces. Store the shaping discs and power cord in the integrated storage drawer to keep your kitchen tidy and prevent loss. Regular, thorough cleaning after every use will prevent dough buildup and maintain the machine’s efficiency for years to come.
Your Philips Compact Pasta Maker and the Italian Kitchen
With your Philips Compact Pasta Maker, the essence of Italian cooking is at your fingertips.
Classic Italian Pasta Types
- Spaghetti: Perfect for classic carbonara, agile e olio, or a rich bolognese.
- Penne: Its tubular shape and ridges are ideal for trapping chunky sauces like arrabbiata or a hearty ragù.
- Fettuccine: Wide and flat, fettuccine shines with creamy sauces like Alfredo or a simple butter and Parmesan.
Sauce Pairings
Experiment with these simple sauce ideas to complement your fresh, homemade pasta:
- Pesto Genovese: A vibrant blend of basil, pine nuts, Parmesan, garlic, and olive oil.
- Marinara Sauce: A classic, fresh tomato sauce, perfect for spaghetti or penne.
- Aglio e Olio: A deceptively simple yet flavorful sauce of garlic, olive oil, and chili flakes.
Embrace the Joy of Homemade Pasta
The Philips Compact Pasta Maker stands as a testament to how modern kitchen technology can bring ancient culinary traditions into our busy lives with unprecedented ease. From its clever space-saving design to its fully automatic operation, it demystifies the art of pasta making, inviting you to experiment with flavors, textures, and shapes. Owning a Philips Compact Pasta Maker isn’t just about buying an appliance; it’s about investing in countless delicious meals, shared moments, and the simple, profound joy of creating something wonderful from scratch. So, go ahead, unlock your inner pasta chef, and savor the incomparable taste of truly fresh, homemade pasta tonight!