Imagine the aroma of freshly made pasta wafting through your kitchen, a delicate masterpiece handcrafted by you. This isn’t a dream for professional chefs anymore; it’s a delightful reality made effortlessly accessible by the Pasta Maker For Kitchenaid Stand Mixer. Transforming your trusty KitchenAid into a versatile pasta factory, these attachments open up a world of authentic Italian flavors and culinary exploration right in your home. Forget the store-bought dry stuff; fresh pasta offers an unparalleled texture and taste that simply can’t be beaten.
The Heart of Homemade Pasta: Your KitchenAid Stand Mixer
For generations, pasta making was a labor of love, requiring strong arms and practiced hands to knead and roll dough to perfection. While traditional methods still hold a romantic charm, the modern kitchen, equipped with a KitchenAid stand mixer, brings unprecedented convenience to this ancient art. The powerful motor and stable design of your KitchenAid provide the perfect foundation for continuous, even rolling and extruding, taking the strenuous work out of making homemade pasta. It’s an investment in your culinary journey, turning daunting tasks into joyful experiences.
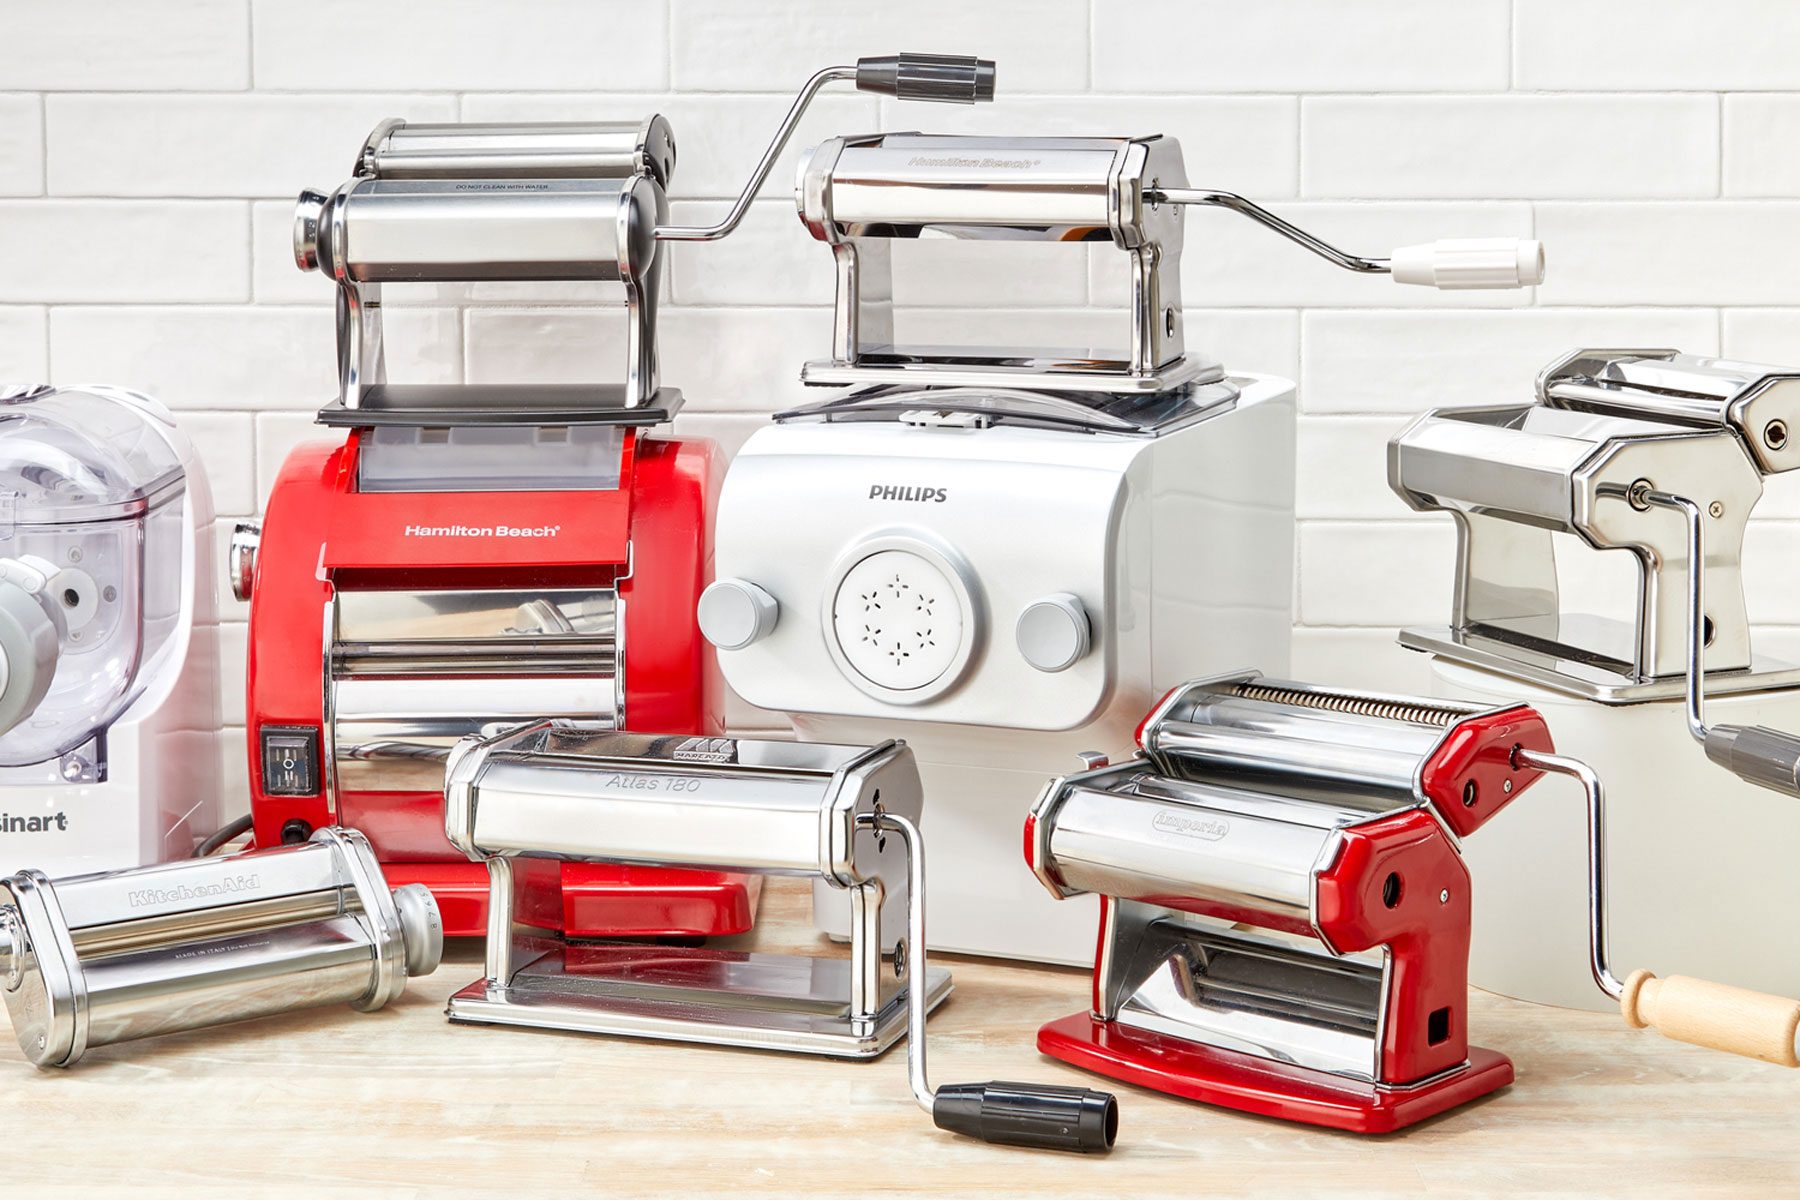
The Dynamic Duo: KitchenAid’s Pasta Attachment Lineup
KitchenAid offers a range of pasta maker attachments, each designed to bring specific types of pasta to life. Understanding their differences will help you choose the perfect pasta maker for KitchenAid stand mixer to suit your pasta preferences.
The Essential Pasta Roller Attachment
The pasta roller is often the first attachment many home cooks consider, and for good reason.
- What it does: This attachment effortlessly rolls your prepared pasta dough into uniform sheets of various thicknesses. It features different settings, typically from 1 to 8, allowing you to achieve everything from thick lasagna noodles to delicate, paper-thin ravioli wrappers.
- Why it’s great: It’s indispensable for creating foundational pasta sheets that can then be cut into numerous shapes or used for stuffed pasta.
- Perfect for: Lasagna, cannelloni, ravioli, tortellini, and as the precursor to other cut pastas like fettuccine and spaghetti.
Precision Cutting: Fettuccine and Spaghetti Cutter Attachments
Often sold separately or in a set with the roller, these cutters attach directly to the power hub of your KitchenAid stand mixer.
- How they work: Once you’ve rolled your dough to the desired thickness using the pasta roller, you simply feed the sheets through the appropriate cutter, and out come perfectly uniform strands of pasta.
- Making classic shapes: The fettuccine cutter yields beautiful flat ribbons, while the spaghetti cutter produces thin, round strands, ready for your favorite sauces.
The Versatile Pasta Extruder Attachment (Gourmet Pasta Press)
For those who crave tubular and more complex shapes, the KitchenAid Gourmet Pasta Press is a game-changer.
- What it does: This attachment forces dough through various dies, creating a wide array of pasta shapes. It comes with six interchangeable pasta plates for different styles.
- Shapes you can make: Macaroni, bucatini, rigatoni, fusilli, small shells, and large macaroni.
- Key consideration: The dough consistency for extruding is slightly different than for rolling – usually a bit firmer and less hydrated to ensure clean cuts and shape retention.
Which One is Right for You? Roller vs. Extruder
Deciding on the best pasta maker for KitchenAid stand mixer depends on your culinary aspirations.
- If you love classic flat pastas like lasagna, ravioli, or prefer to hand-cut tagliatelle, the pasta roller is your starting point. Adding the cutter attachments extends its versatility for common strands.
- If you frequently enjoy tubular pastas or more intricate shapes like fusilli and rigatoni, the extruder is an excellent addition, offering a wider variety of forms with less manual cutting. Many enthusiasts eventually own both to cover all their pasta-making bases.
Why Every Home Cook Needs a KitchenAid Pasta Maker
Beyond the sheer joy of creation, investing in a KitchenAid pasta maker attachment brings a multitude of benefits to your kitchen and palate.
Unmatched Freshness and Flavor
There’s simply no comparison between fresh, homemade pasta and its dried counterpart. Fresh pasta boasts a delicate texture, a tender chew, and a subtle eggy richness that elevates any sauce it accompanies. It absorbs flavors more readily, resulting in a more harmonious dish.
Cost-Effective and Healthier Options
Making pasta at home is surprisingly economical. The basic ingredients – flour, eggs, water, and salt – are inexpensive and readily available. Furthermore, you have complete control over what goes into your pasta, allowing you to choose organic ingredients, experiment with whole wheat flours, or even create gluten-free versions without worrying about additives or preservatives.
A Rewarding Culinary Experience
The process of making pasta, especially with the help of your KitchenAid, is deeply satisfying. From mixing the dough to seeing perfectly formed sheets or intricate shapes emerge, it’s a tangible connection to culinary tradition. It’s a fantastic activity for families, teaching valuable kitchen skills and fostering a love for cooking from scratch.
Impress Your Guests
Serving homemade pasta is a fantastic way to elevate any meal from ordinary to extraordinary. Your guests will undoubtedly be impressed by the effort and delicious results, making any dinner party or family gathering feel extra special.
Mastering Your KitchenAid Pasta Maker: A Step-by-Step Guide
Getting started with your pasta maker for KitchenAid stand mixer is simpler than you might think. Here’s a basic guide to get you rolling (and extruding!).
Preparing Your Dough
The foundation of great pasta is great dough. For roller attachments, a classic egg pasta dough (flour and eggs, sometimes a splash of water or olive oil) works best. For extruders, the dough should be slightly stiffer to hold its shape well.
- Tip for success: Aim for a firm, but pliable dough that isn’t sticky. It should feel like firm playdough.
Using the Pasta Roller Attachment
- Attach: Secure the pasta roller to the power hub of your KitchenAid stand mixer.
- Flatten Dough: Divide your dough into manageable portions (about golf-ball to tennis-ball size) and flatten each piece slightly with your hands or a rolling pin.
- Start Thick: Set the roller to the widest setting (usually ‘1’). Turn your mixer to speed 2 and feed a flattened piece of dough through.
- Fold and Repeat: Fold the dough into thirds and feed it through the widest setting again. Repeat this 2-3 times until the dough is smooth and rectangular. This helps to knead and strengthen the gluten.
- Gradually Thin: Reduce the roller setting by one notch (e.g., from 1 to 2) and feed the dough through without folding. Continue reducing the setting and feeding the dough through until you reach your desired thickness. For fettuccine or spaghetti, settings 5 or 6 are often ideal; for ravioli, 7 or 8 might be better.
Using the Pasta Cutter Attachments
- Switch Attachments: Remove the roller and attach your desired cutter (fettuccine or spaghetti) to the power hub.
- Cut: With the mixer on speed 2, feed your pasta sheets (rolled to the appropriate thickness) through the cutter. The fresh pasta will emerge, ready to be cooked or dried.
Using the Pasta Extruder Attachment
- Attach: Secure the extruder to the power hub and insert your chosen pasta plate.
- Prepare Dough: Ensure your dough is firm and well-kneaded, cut into pieces that fit easily into the hopper.
- Extrude: With the mixer on speed 4 (or as recommended by your manual), feed the dough into the hopper. As the pasta emerges, use a knife or the included cutter to snip it to your desired length.
- Expert Insight from Chef Isabella Rossi: “The secret to perfect extruded pasta isn’t just the machine; it’s the dough. A slightly drier, firmer dough will yield beautifully textured shapes that hold up to rich sauces. Don’t be afraid to experiment with your hydration levels to find what works for your specific flour.”
Drying Your Pasta
Fresh pasta can be cooked immediately or dried for later use.
- Short-term drying: Hang strands over a pasta drying rack or clean broom handle, or lightly dust with semolina flour and coil into nests on a baking sheet.
- Long-term storage: Once fully dry (it should snap, not bend), store in an airtight container at room temperature for several weeks.
Caring for Your Attachment: Cleaning and Maintenance Tips
Proper care ensures your pasta maker for KitchenAid stand mixer lasts for years to come.
- The Golden Rule: Never immerse your pasta attachments in water or wash them in the dishwasher.
- Allow to Dry: The easiest way to clean pasta attachments is to let any leftover dough dry completely (usually for an hour or two, or even overnight).
- Brush and Pick: Once dry, the dough becomes brittle and easy to remove. Use a pastry brush or the included cleaning tool (if applicable) to brush off any dried bits. A toothpick can help dislodge stubborn pieces from crevices.
- Storage: Store attachments in their original box or a clean, dry place to protect them from dust and moisture.
Beyond the Basics: Creative Pasta Shapes and Pairings
With your KitchenAid pasta maker, the possibilities are vast.
- Stuffed Pasta: Use the roller to create thin sheets for homemade ravioli, tortellini, or agnolotti, filling them with cheese, meat, or vegetables.
- Gnocchi: While not directly made by the pasta attachments, having fresh pasta dough-making capability often inspires venturing into potato gnocchi.
- Flavored Doughs: Experiment with incorporating natural color and flavor into your dough with ingredients like spinach puree, beet juice, squid ink, or herbs.
- Sauce Pairings:
- Simple Tomato Sauce: A classic for spaghetti and fettuccine.
- Creamy Alfredo: Luxurious with fettuccine or rigatoni.
- Nutty Pesto: A vibrant choice for spaghetti or fusilli.
- Robust Bolognese: Perfect for holding onto hearty sauces like rigatoni or pappardelle (made from wider roller sheets).
- Aglio e Olio: A minimalist yet flavorful option for spaghetti.
Frequently Asked Questions
Q: Is the KitchenAid pasta maker attachment compatible with all KitchenAid stand mixers?
A: Yes, all KitchenAid stand mixer attachments, including the pasta makers, are designed to fit the universal power hub on any KitchenAid stand mixer model, regardless of its age or size.
Q: Can I make gluten-free pasta with these attachments?
A: Absolutely! While gluten-free doughs can sometimes be a bit more delicate, many recipes for gluten-free fresh pasta work wonderfully with both the roller and extruder attachments. You might need to adjust hydration slightly.
Q: How long does homemade pasta last?
A: Fresh, uncooked pasta can be refrigerated in an airtight container for 1-2 days. If properly dried until brittle, it can be stored at room temperature for several weeks, similar to commercially dried pasta.
Q: Is it difficult to clean the pasta maker attachments?
A: Not at all, as long as you follow the golden rule of letting the dough dry first. Cleaning tools are often included, and a simple brush and toothpick are usually all you need to remove dried dough bits.
Q: What’s the best way to store fresh pasta?
A: For immediate use, you can lightly dust cut pasta with semolina flour and loosely coil it into nests on a baking sheet. For longer storage, hanging it on a pasta drying rack until completely dry is ideal, then store it in an airtight container.
Conclusion
The pasta maker for KitchenAid stand mixer isn’t just another kitchen gadget; it’s a gateway to culinary excellence, a tool that invites you to slow down, create with your hands, and savor the unparalleled taste of truly fresh pasta. Whether you’re a seasoned chef or a curious home cook, these attachments transform your KitchenAid into a versatile workhorse, simplifying the art of pasta making and bringing authentic Italian flavors to your table. So, roll up your sleeves, embrace the joy of homemade, and let your KitchenAid pasta maker inspire countless delicious meals.